The reset procedure clears the data disk on your device. Unless you created a backup, you will lose all data and configuration settings.
Performing a factory reset of your device is an extreme measure that should not usually be required and should be done with caution.
Considerations before starting a reset
The reset process requires a working internet connection.
- If your Green can't reach the internet, the reset will fail, leaving you worse off than when you started.
Common issues that don't require a reset
- Can't remember your password: Reset your owner password.
- Can't find your device on the network: Check your router's device list for the current IP address.
- Device seems unresponsive: Power cycle and wait 5 minutes for a full boot.
If you're unsure what's causing your issue, consider asking the Home Assistant Community before resetting your device.
Perform this procedure if you want to perform a factory reset on your device.
Prerequisites
- Home Assistant Green
- microSD card
- Memory card reader for microSD (your computer might have an integrated card reader, otherwise use an external one)
- Computer with internet access
- You have created a backup and stored it on another system
Notice
Risk of losing your configuration
This process clears the data disk on your Green. Unless you create a backup, you will lose all data and configuration settings.
- A device reset wipes the data partition of your device. It removes all user data as well as Home Assistant Core, Supervisor, and any installed apps. The Home Assistant Operating System stays on the system.
- Once a device wipe is initiated, the data partition is marked as to be cleared on boot. Then, the system reinstalls the latest version of all Home Assistant components.
- To avoid losing data and configuration settings, create a backup and define a backup location outside of your Home Assistant.
To copy the Home Assistant Green OS to the SD card
Step 1
Downloading the Home Assistant Green OS installer

- Download the Home Assistant Green OS installer: green-installer-20240410.img.xz
- This file is hosted on the NabuCasa buildroot-installer releases page on GitHub.
- Download and start Balena Etcher.
- You may need to run it with administrator privileges on Windows.
Step 2
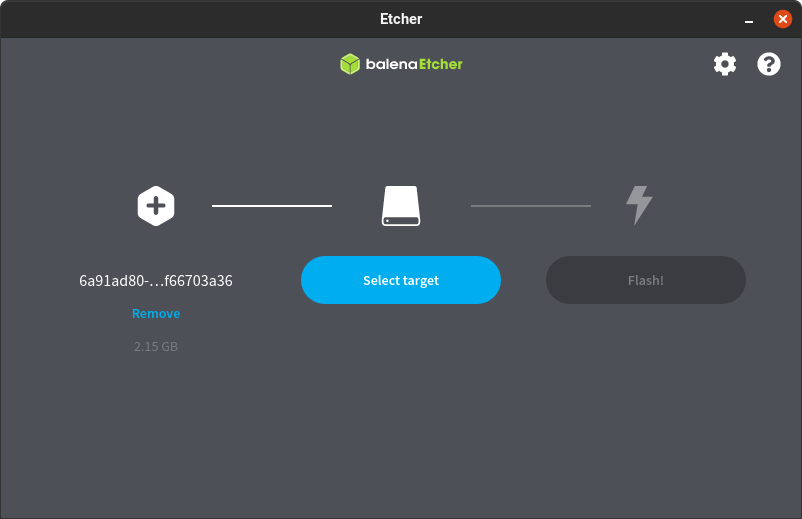
Selecting the image

- Choose Flash from file, then select the image you just downloaded.
Step 3
Selecting the target
- To select the target, insert the SD card to your computer.
- Select target, then pick the SD card as target.
Step 4
Writing the image
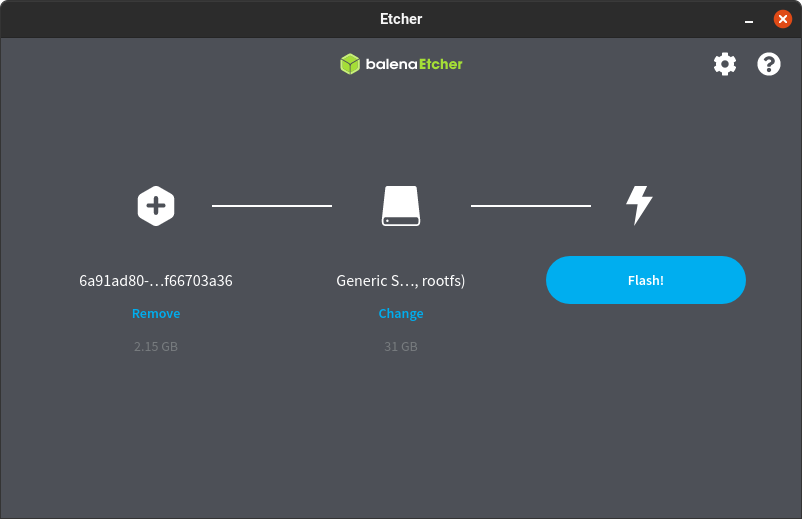
- To start writing the image to the SD card, select Flash!.
Step 5
Flash complete

- Once Balena Etcher has finished writing the image, you will see a confirmation.
- You can now remove the SD card.
To reset the device using an SD card
Step 1
Shutting down the system
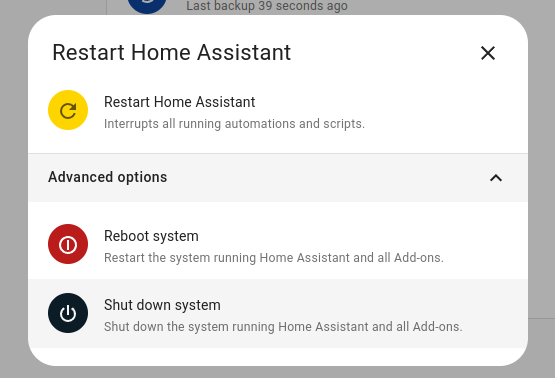
- In your Home Assistant UI, go to Settings > System and in the top right, select the three-dots menu. Select Restart Home Assistant.
- Then, select Shut down system.
- Wait until all the LEDs turned off.
- In case the shutdown via UI should not work:
- To shutdown gracefully, press the power button for 6 seconds.
- For a hard shutdown (do this only if all else fails), press the power button for 12 seconds.
- Remove the power cable to remove power from the system.
Step 2
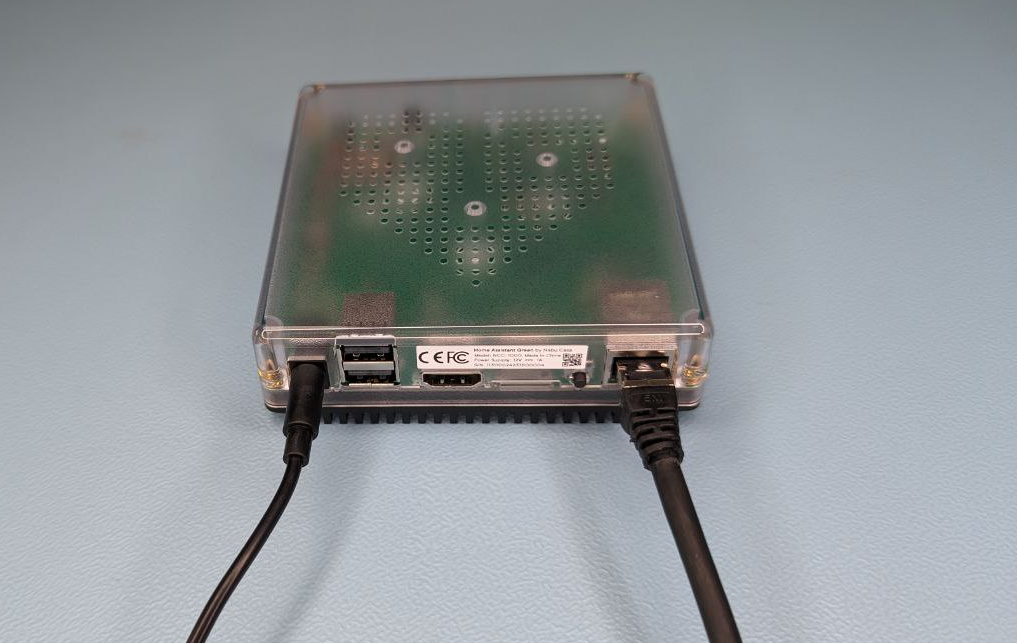
Inserting the SD card
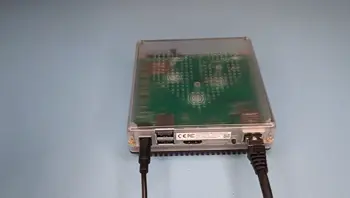
- Insert the SD card with the Home Assistant Green OS installer. Push it in until you hear a click — the slot is spring-loaded and the card must be fully seated.
- Make sure the Home Assistant Green is connected to the Internet.
Step 3
Powering up the system
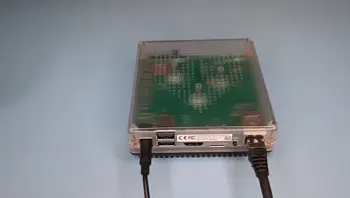
- Press the power button.
- The operating system is being written to the eMMC.
- During this time, the yellow LED is blinking fast.
- Wait for the LEDs to turn off.
Step 4
Removing the SD card
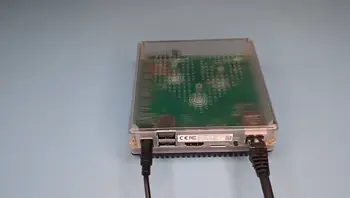
- When the LEDs turn off, the operating system has been written to the eMMC.
- Remove the SD card.
Step 5
Powering up the system

- Press the power button.
- Once the yellow LED blinks in a heartbeat pattern, the system is ready.
Step 6
Getting started with Home Assistant

- Info: Initial startup may take a while, depending on your internet connection.
- Install the app: To access Home Assistant from your mobile device, use the QR code to locate the app in the app store.
- Select your Home Assistant server:
- Mobile: Confirm the IP address detected by the app. For example
http://192.168.1.196:8123. - Desktop: Visit http://homeassistant.local:8123 to access the Home Assistant user interface.
- Mobile: Confirm the IP address detected by the app. For example
- The Home Assistant user interface guides you through the initial onboarding.
- Info: For further information, refer to the instructions provided.